Ticketstripe Check-In App Tutorial
1 Login using your Ticketstripe account.
2 Select your event
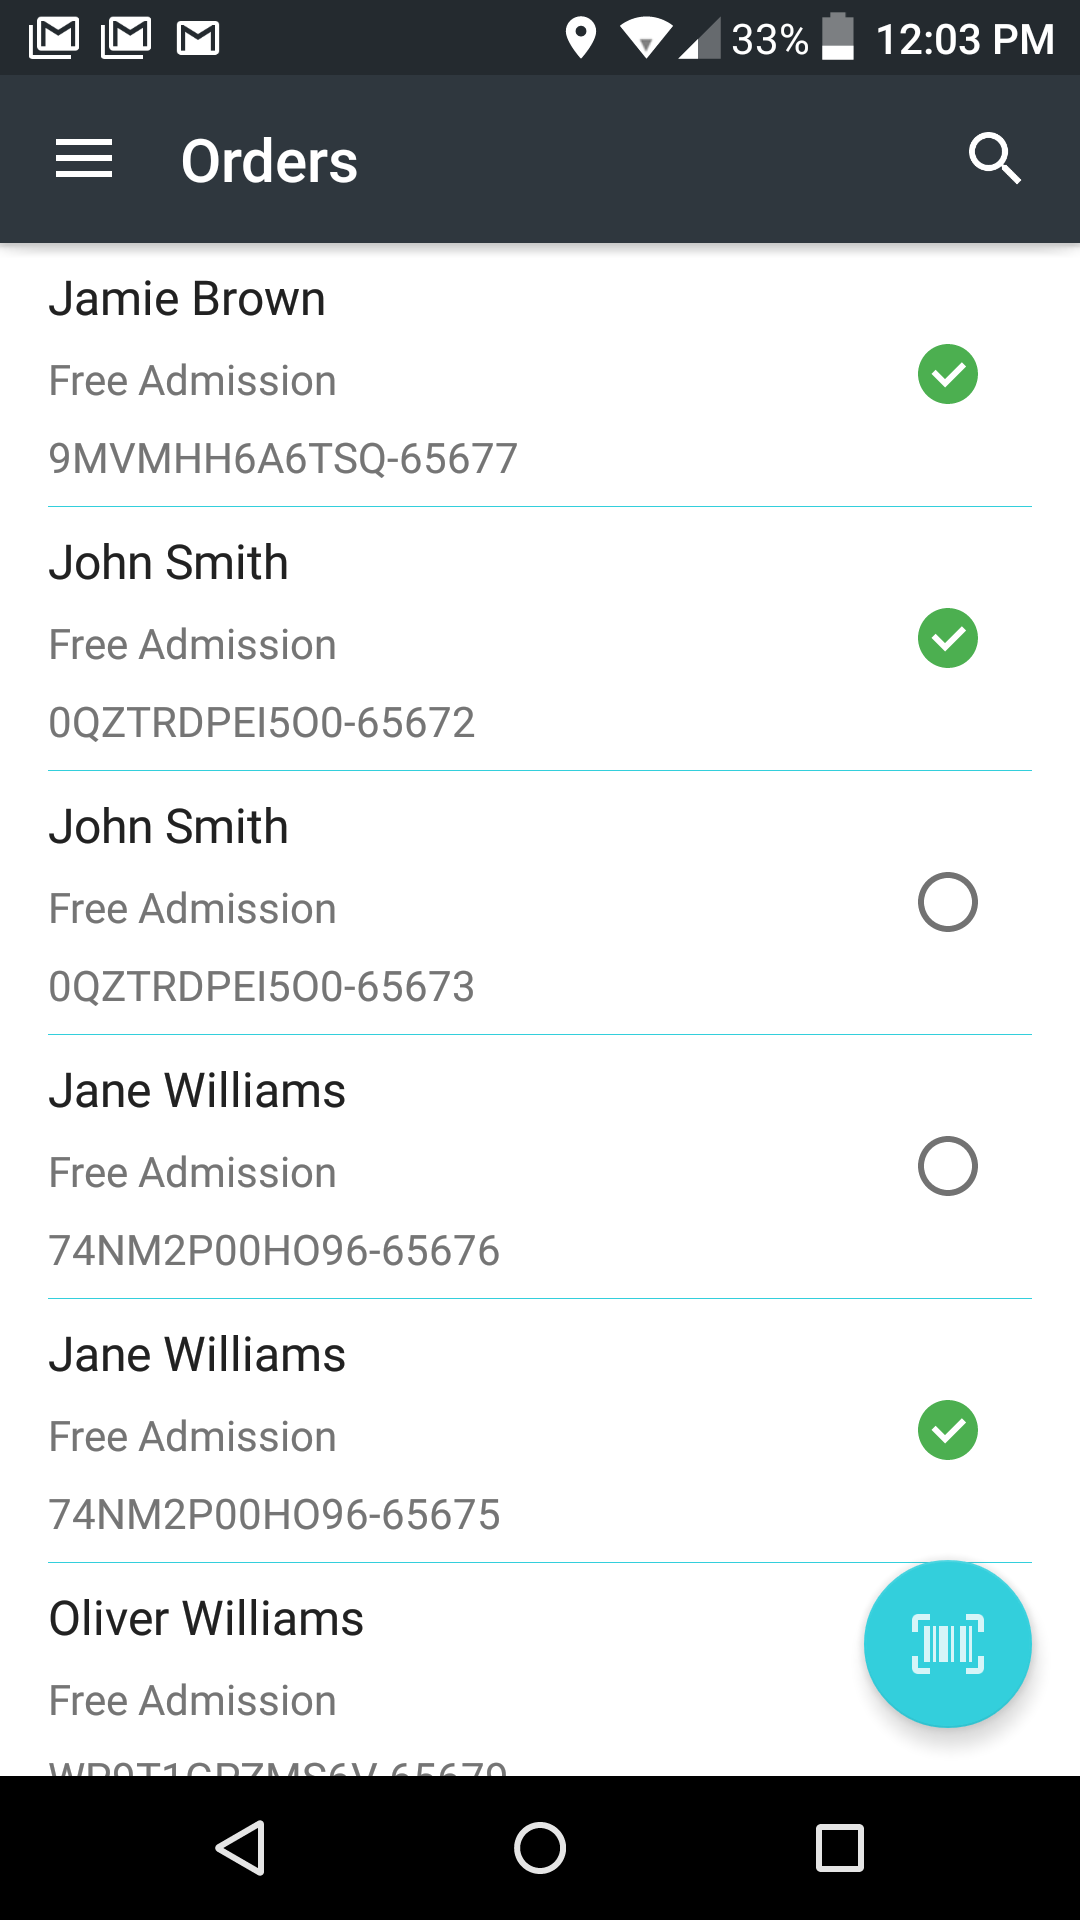
3 You will see a full list of your attendees. To start scanning tickets, press the blue barcode button on the bottom right of your screen.
Alternatively, you can press menu, on the top left, and select “Check In” to start scanning.
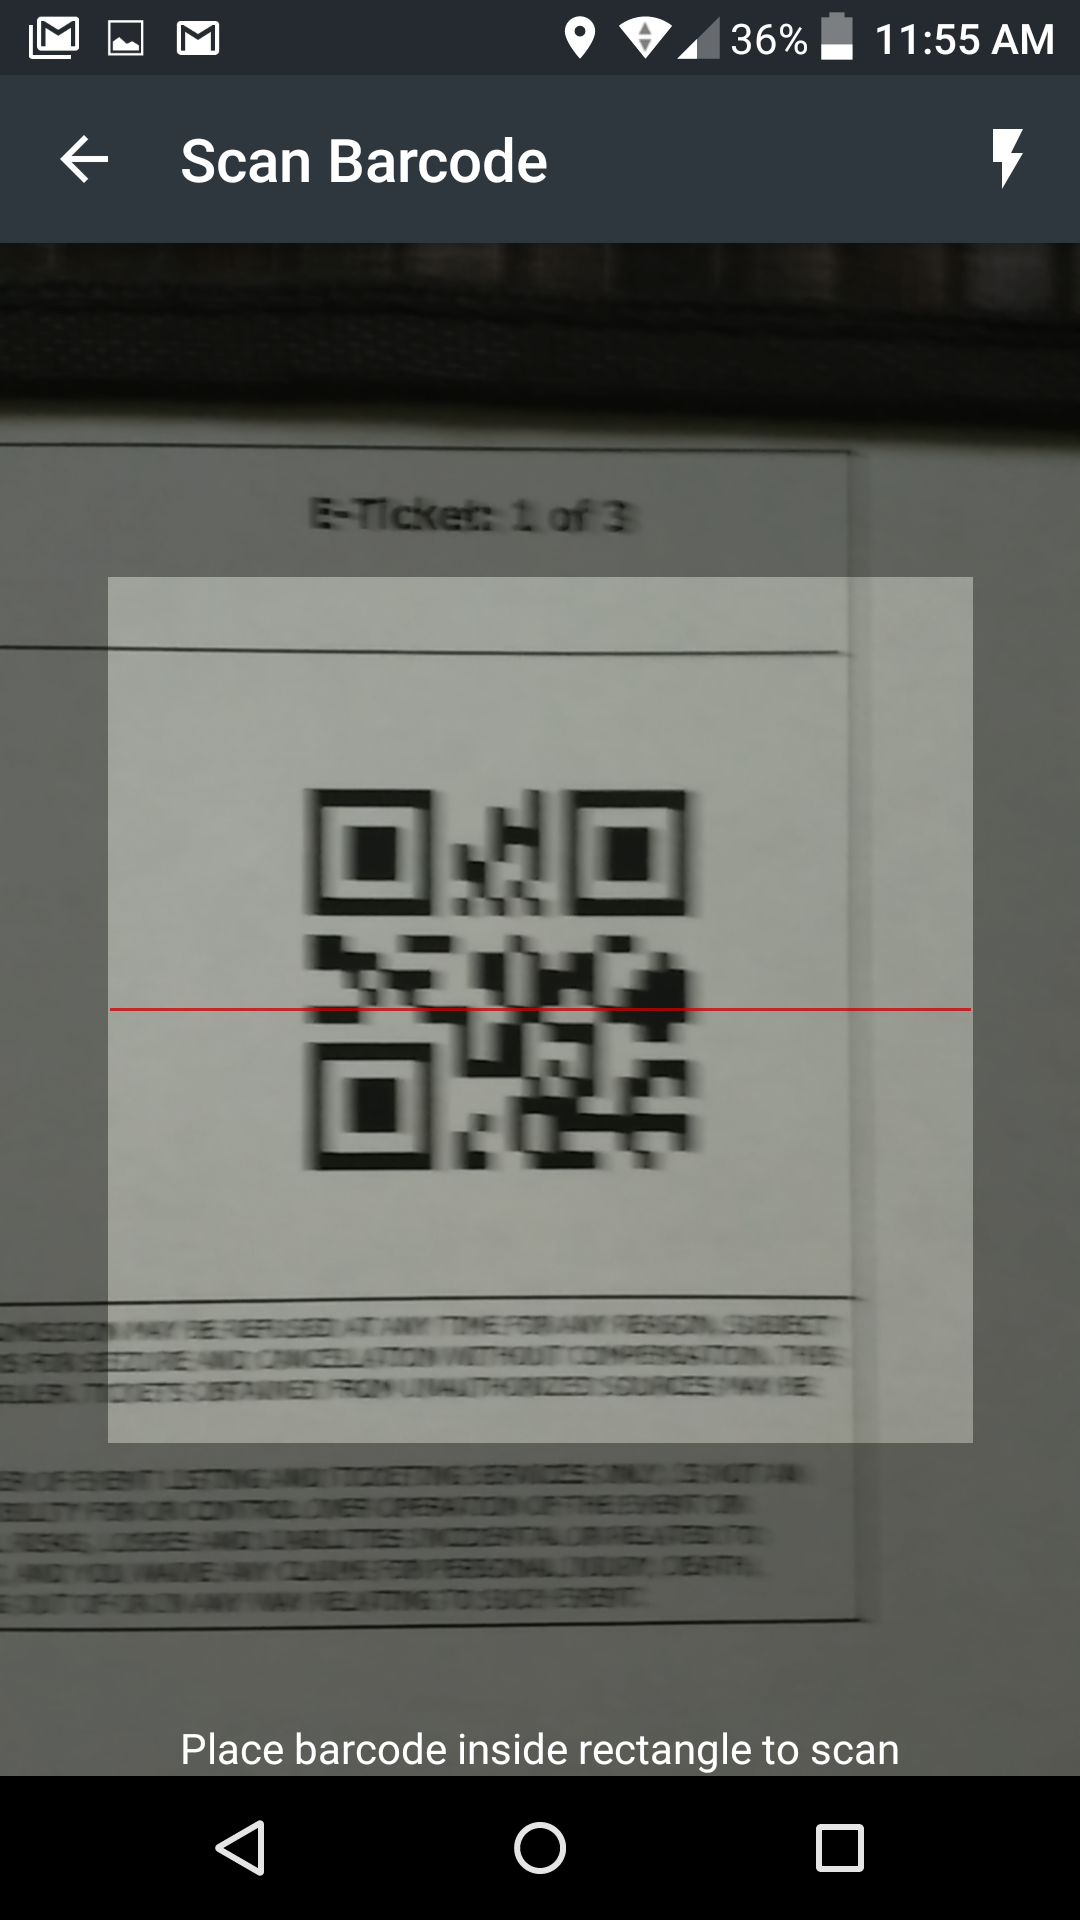
4 Once your camera scanner appears, align the ticket’s barcode inside of the rectangular view as shown below.
Your scan should not take longer than 1-2 seconds. Follow these tips for successful scanning:
- Scan only one ticket at a time.
- Keep your phone in parallel to the ticket you are scanning, not at an angle.
- A two-hand distance from phone to ticket works well. Try adjusting it if the scan is taking longer than usual. After a few scans you will find a camera to ticket distance that works best for you.
- Wrinkled and damaged tickets might be harder to scan, try straightening a ticket out.
- Keep your fingers out of the rectangular view.
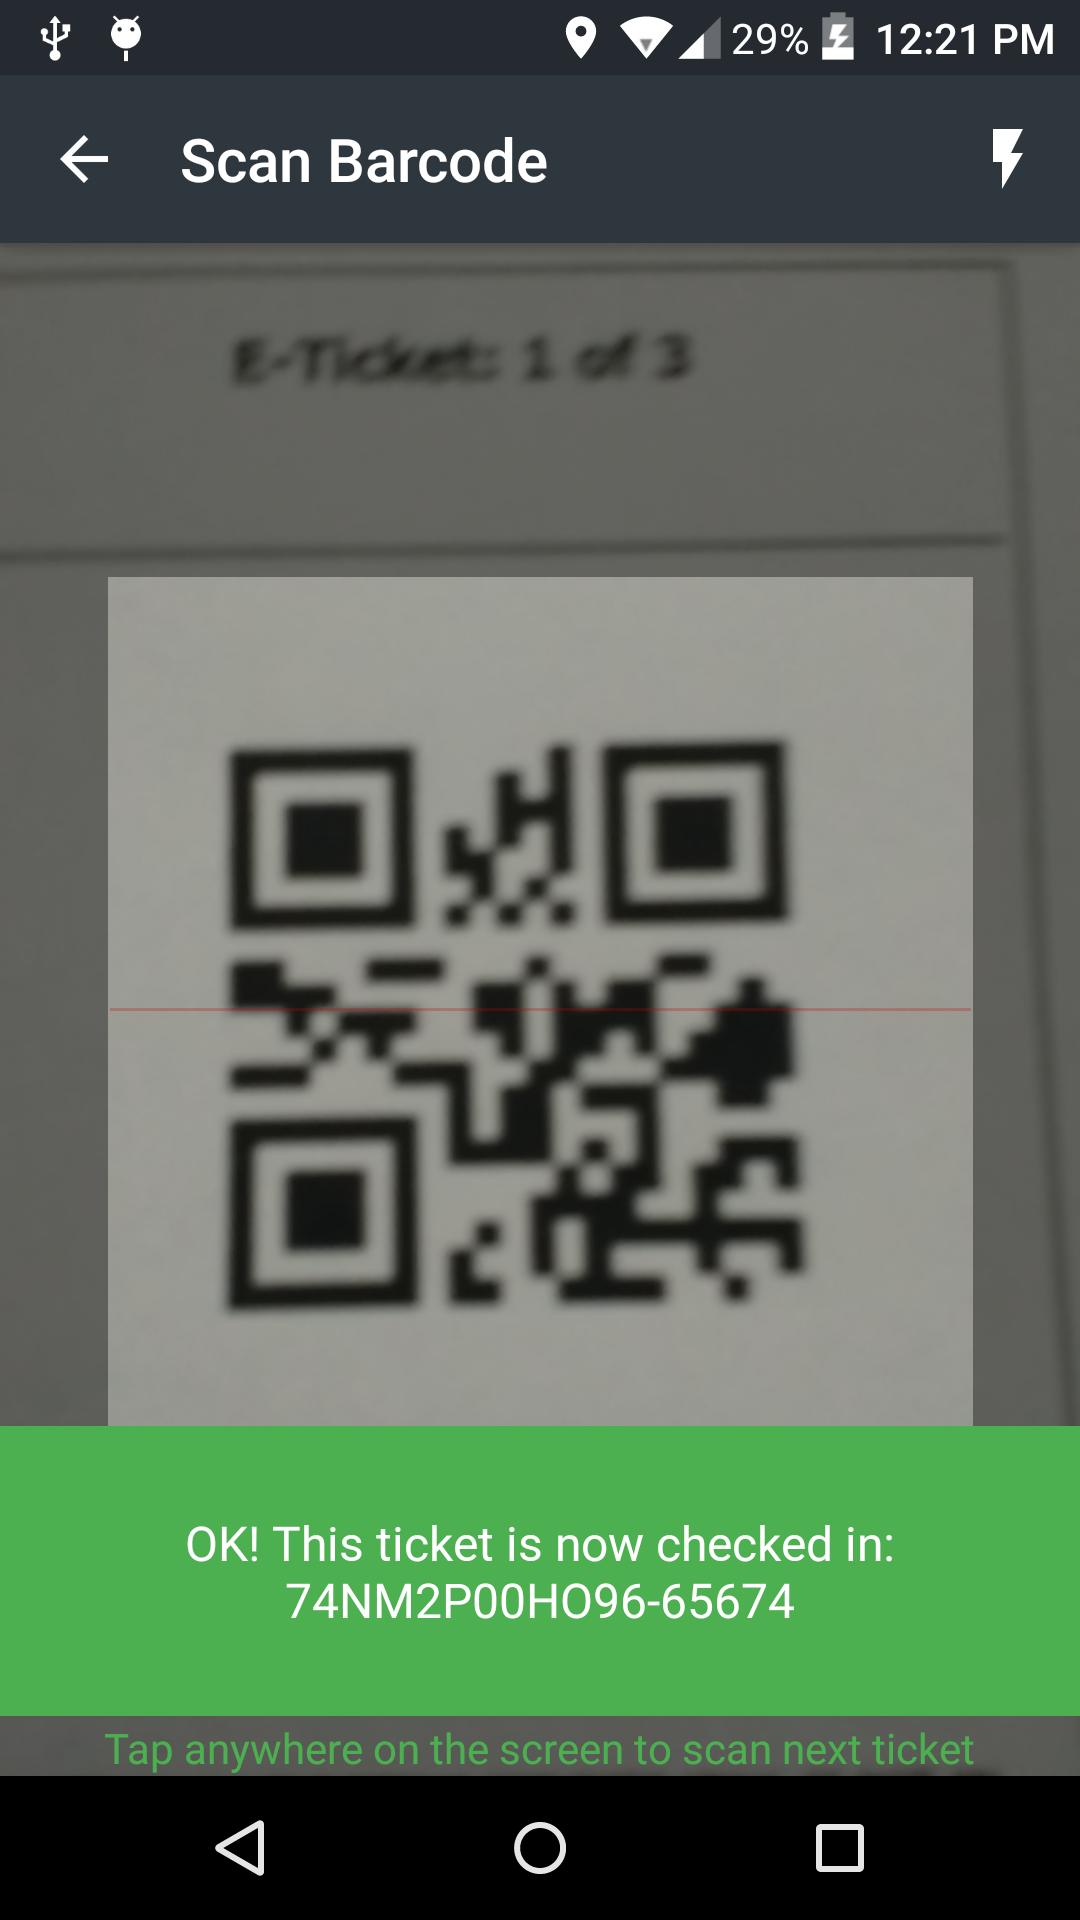
5 If the ticket is valid, you will get a green message bar on the bottom of your screen.
You can continue scanning your next ticket by tapping anywhere on the screen.
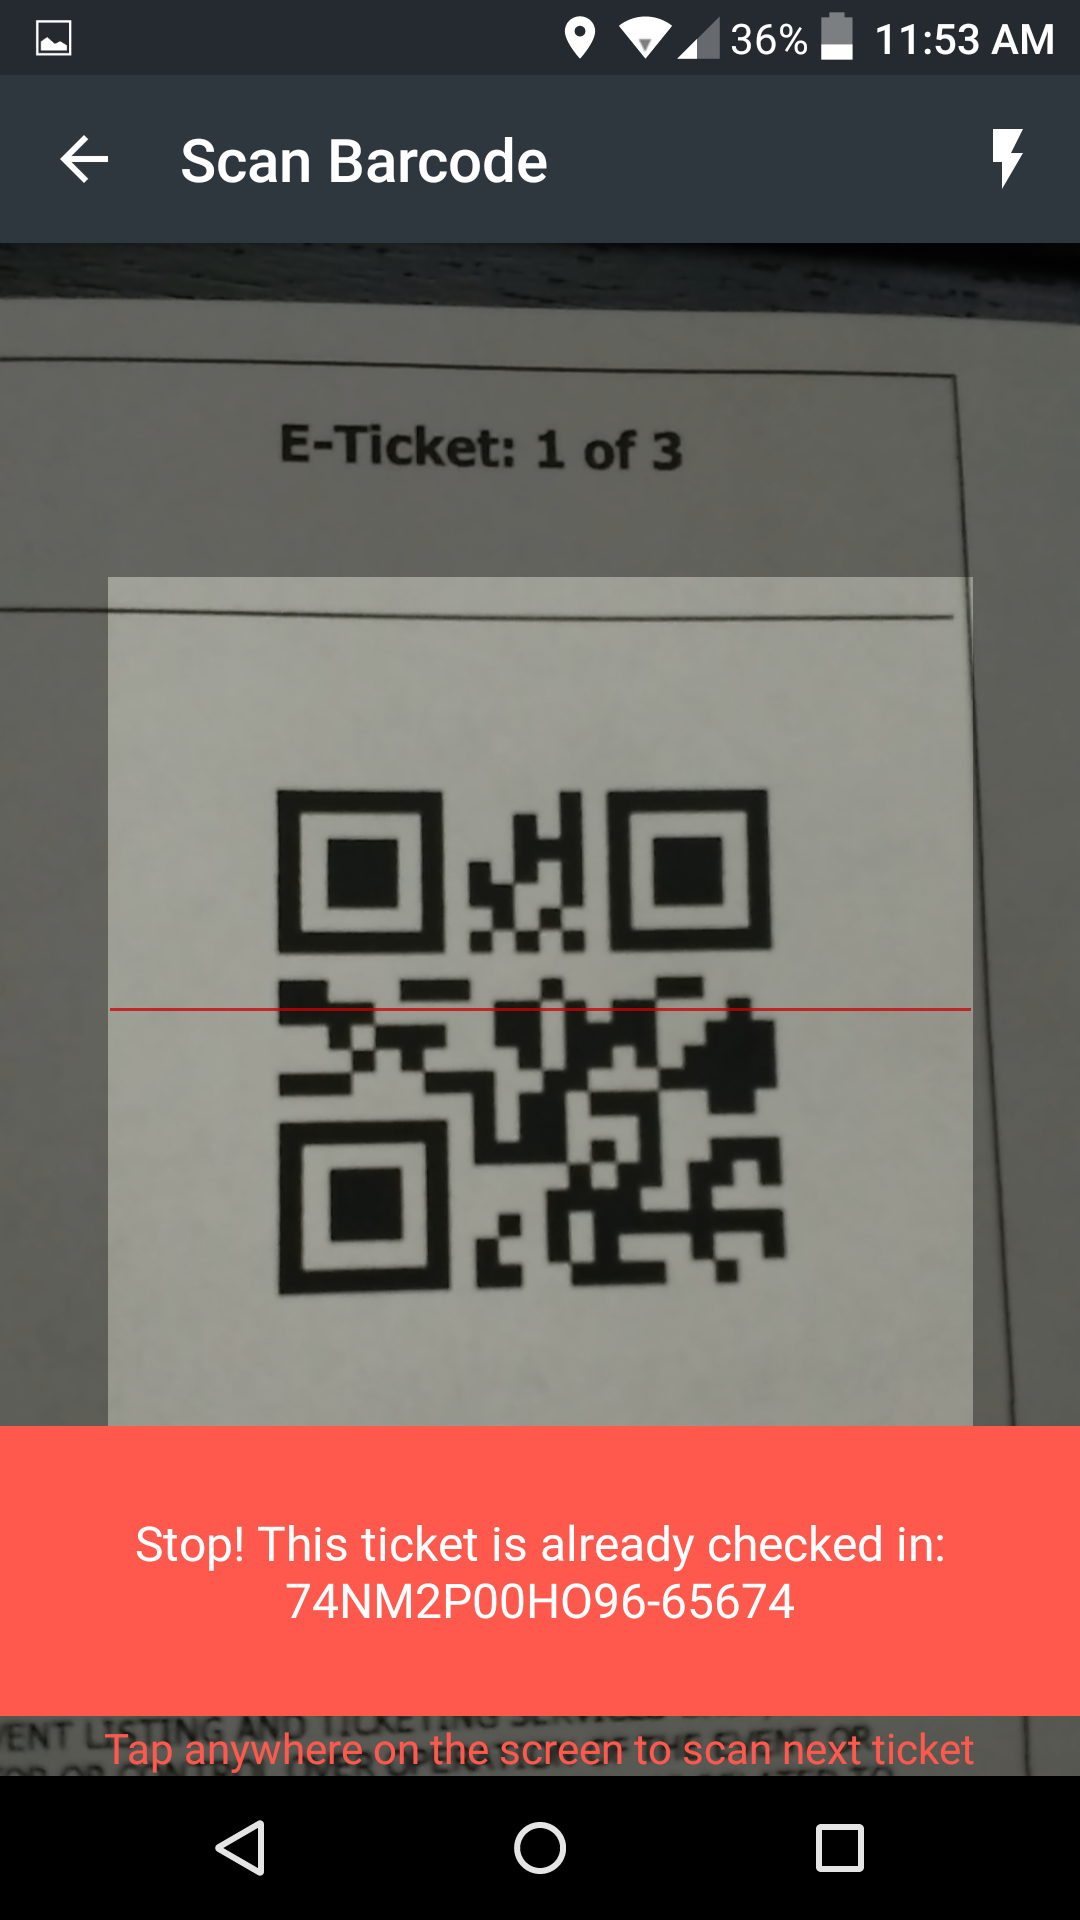
6 Invalid tickets will display a red message bar on the bottom, along with a message why this ticket was declined.
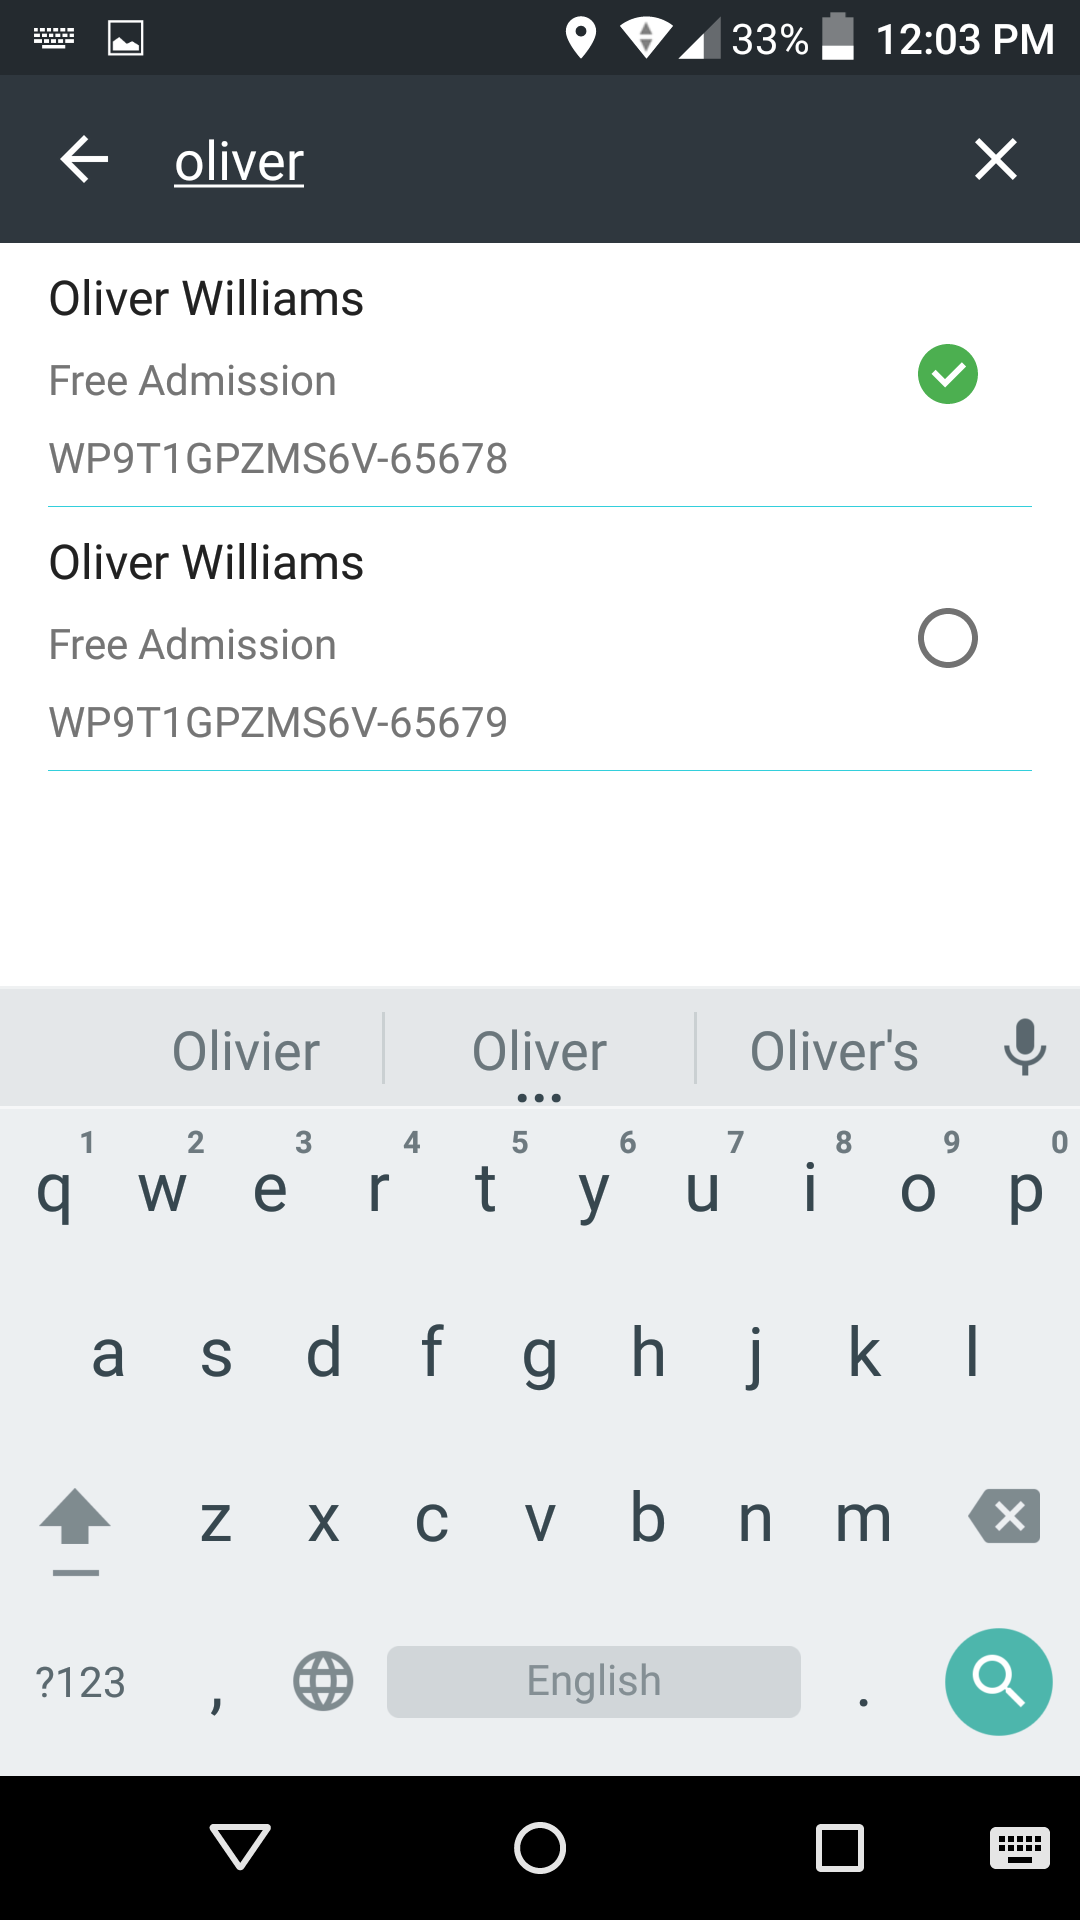
7 If a ticket cannot be scanned, you can look up your attendee by name.
- Click the back arrow on the top left of your screen to return to the attendee list.
- Click the magnifying glass icon in the top right of your screen to enter attendee’s name.
- A green indicator to the right of the attendee’s name means that ticket is already checked in.
- Note: if the customer ordered multiple tickets, you will see each ticket listed separately with the same name.
8 Tap on the attendee’s name to get full details.
You can use the check-in/check-out slider on the bottom to change attendee’s status.


